In this post, I talk about my experience creating the game Squarb Stack VS which you can play on my website here and download from Itch.io here
Goals
I was motivated to create a game for a family party that would occur in October. I wanted everyone to have fun playing one of my games and to show off my skills. My biggest goal was to hold a small single-elimination tournament for those who wanted to join, so the focus of this game was to be a two-player competitive affair.
Since lots of kids were expected to come to this party, I wanted a game which rewarded skill, but was somehow random enough for even a kid to have a chance of winning.
Since lots of kids were expected to come to this party, I wanted a game which rewarded skill, but was somehow random enough for even a kid to have a chance of winning.
Anyway, the game was a huge success! Everyone had a great time and we had a satisfying 16-player tournament won by the great “Eggo my Leggo!”
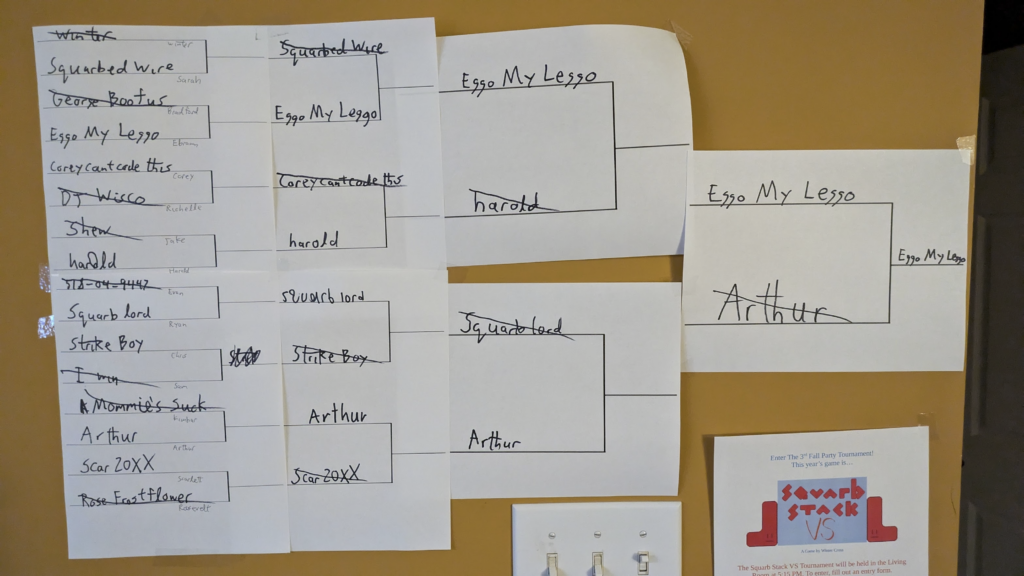
The only goal I failed to achieve was the rewarding skill while giving kids a chance at winning. The meta of this game is dominated by spamming!
Multiplayer
This would be the first game I’ve ever made with multiplayer, so I knew that figuring out Godot’s tools for handling this would be a big challenge. Ultimately, it wasn’t too difficult.
The biggest departure from other games I’ve made was how I took input. Instead of using Godot’s normal Input system, I used functions which could query inputs from specific connected devices (controllers). Those being “is_joy_button_pressed(device,button)” and “get_joy_axis(device,axis)”.
When I needed to instantly react to an event in _input, I used a custom function which converts the input event to the corresponding game action (e.g. move_right, rotate_clockwise, drop) for the player that made the event.
Another new thing was getting the splitscreen working. This was easy as well, I just created two Viewport and Subviewport nodes which loads and stores two instances of the same stage scene. I utilized the “size 2D Override” value in the SubViewports to get each one to take up half of the screen.
Stage Design
What actually took way more time was creating satisfying stages. When I started development, the shape of the creatures you stacked where much different. There was a rounded square (squarb), an equilateral triangle (traggle), and an oval (moll) among others.


The problem is that THESE SHAPES DON’T STACK! My idea was to create stages which helped these shapes to stack better, but that proved to be impossible.
Ultimately, halfway through development, I took a page from a similar game, Tricky Towers, and added new creatures in the shape of Tetris pieces. These creatures are about 4 times the size of the old ones, so I had to scrap all of the stages I had made and created 7 new ones.
Creating interesting stages still was difficult, but I’m pretty happy with what I made.
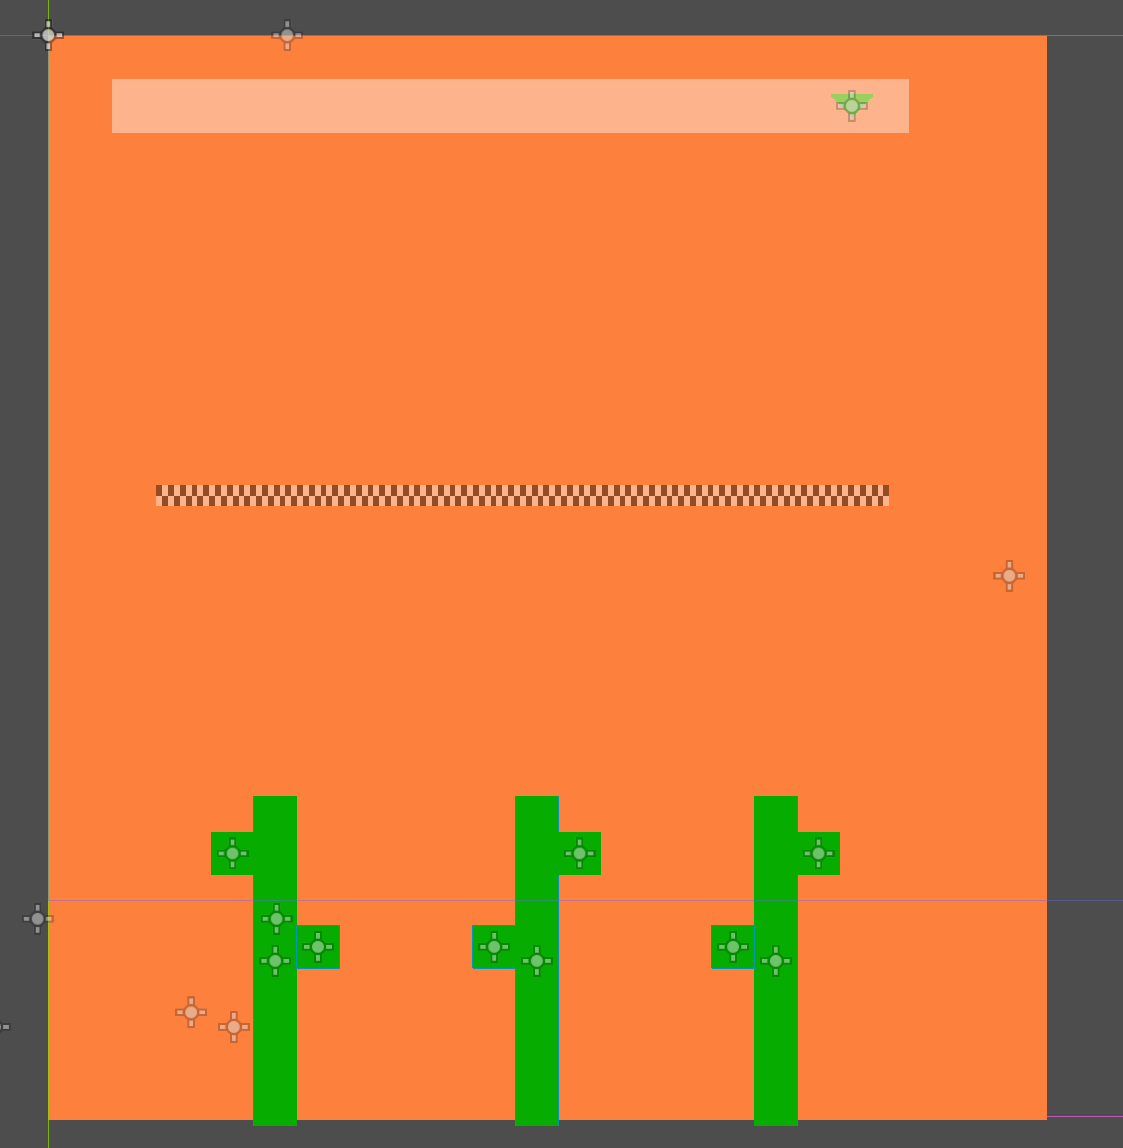
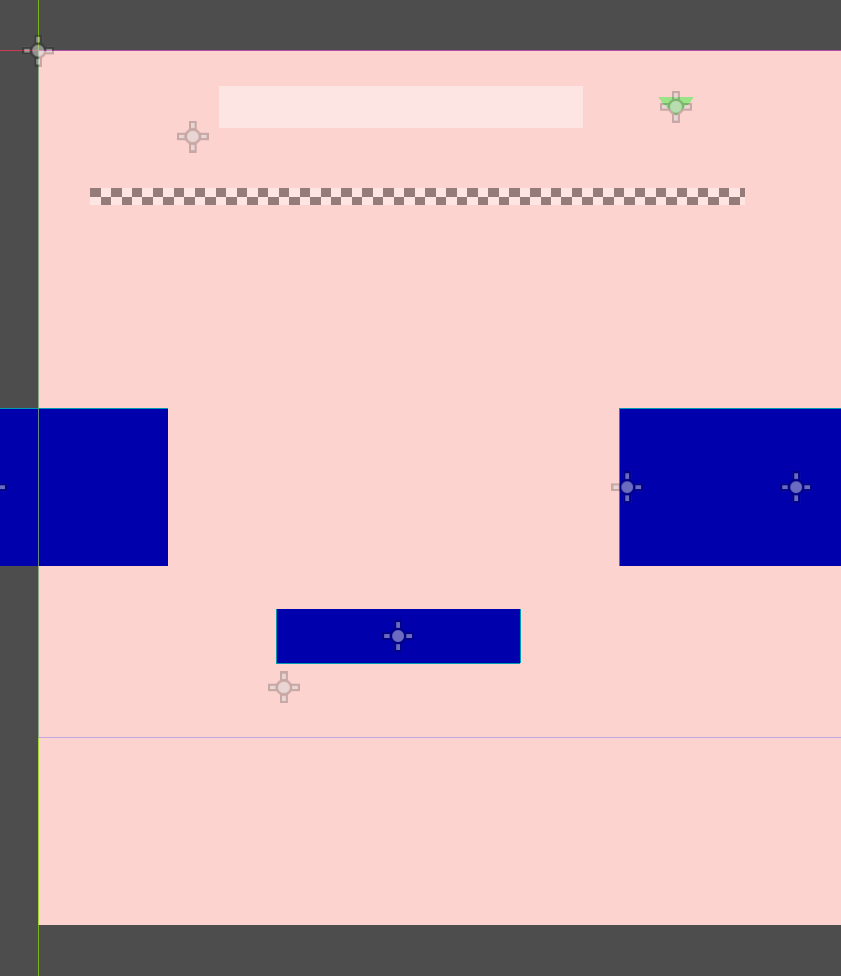
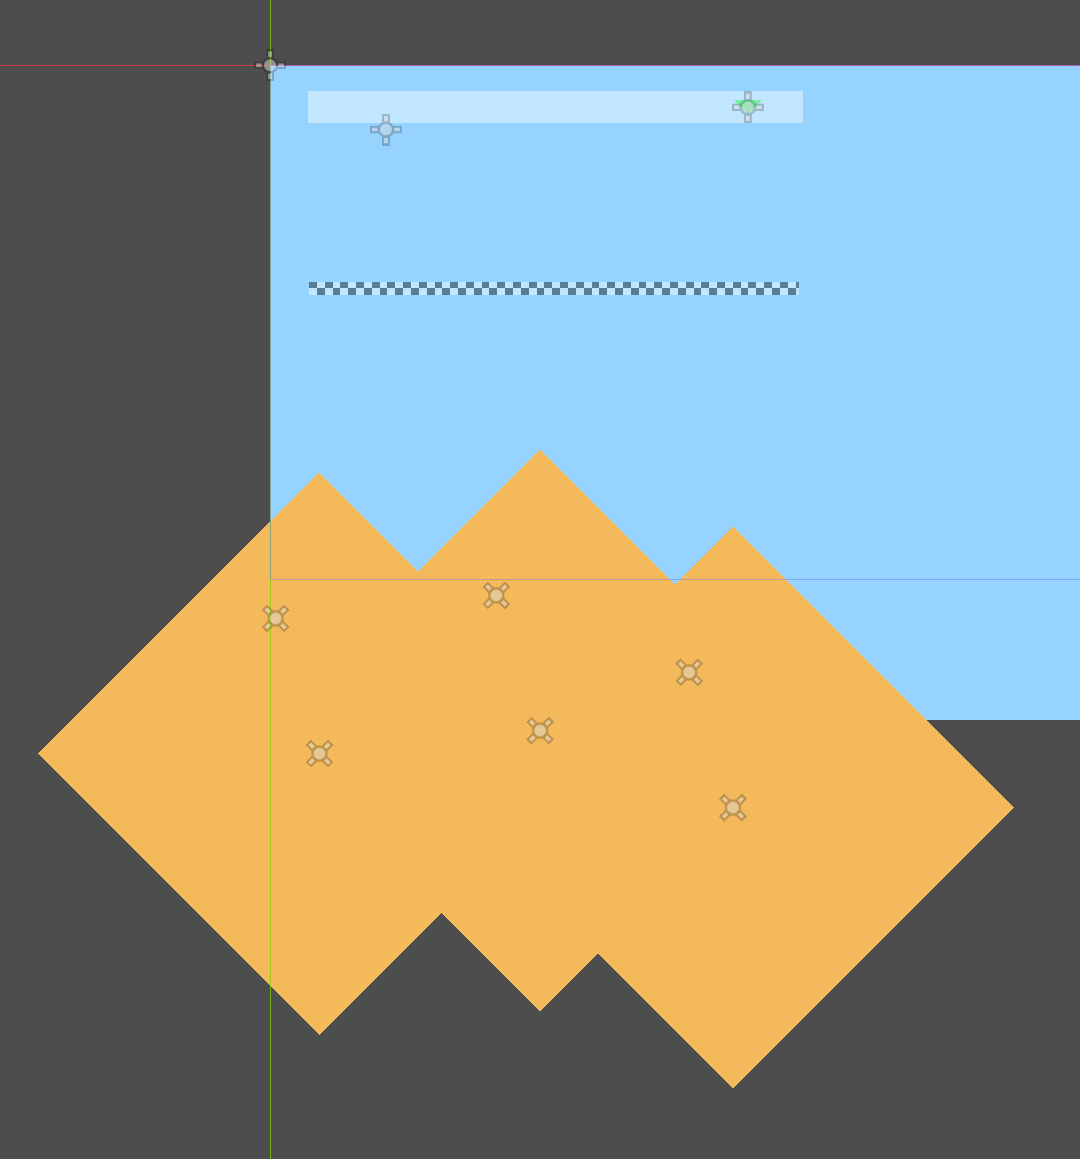
And yeah, the pyramids in the third stage are actually just rectangles rotated! My laziness knows no bounds!
Control Schemes and Example Controllers
After the tournament, I planned on releasing the game on my website and on Itch for download, but I needed a more general solution for taking input. During the tournament, I had code which accounted specifically for my own two switch USB controllers. This would not fly when other people may use whatever controllers they have around.
So, I created the option to edit and create your own Control Schemes! There’s a lot of stuff happening under the hood of this feature.
First off, there is an actual object in my game called a ControlScheme. It’s a resource which contains an InputEvent for the 6 in-game actions, a name, and a controllerType (Like Switch, PS4, Keyboard, etc.). So, this can be used to map an input event to a game action. A global node stores all of the existing schemes by file path and another stores which scheme each player is currently set to use.
To find the name of the button/joystick the player should press to display in tutorials, I created a map for each controllerType from the Godot enums JoyButton or JoyAxis (and + or – 1) to a name which I typed manually. I nearly did the same for every key on the keyboard until I found the wonderful built-in function OS.get_keycode_string(Key) which did all the work for me!
As for the example controllers, which appear in the Input Test and tutorials, I had already created something similar in a previous project: Musical Controller which you can play here.
I reworked the code to work for this new system of ControlSchemes and also to consider the device that the input was coming from. The biggest addition though was adding the Keyboard which has 88 individual keys I had to place manually!
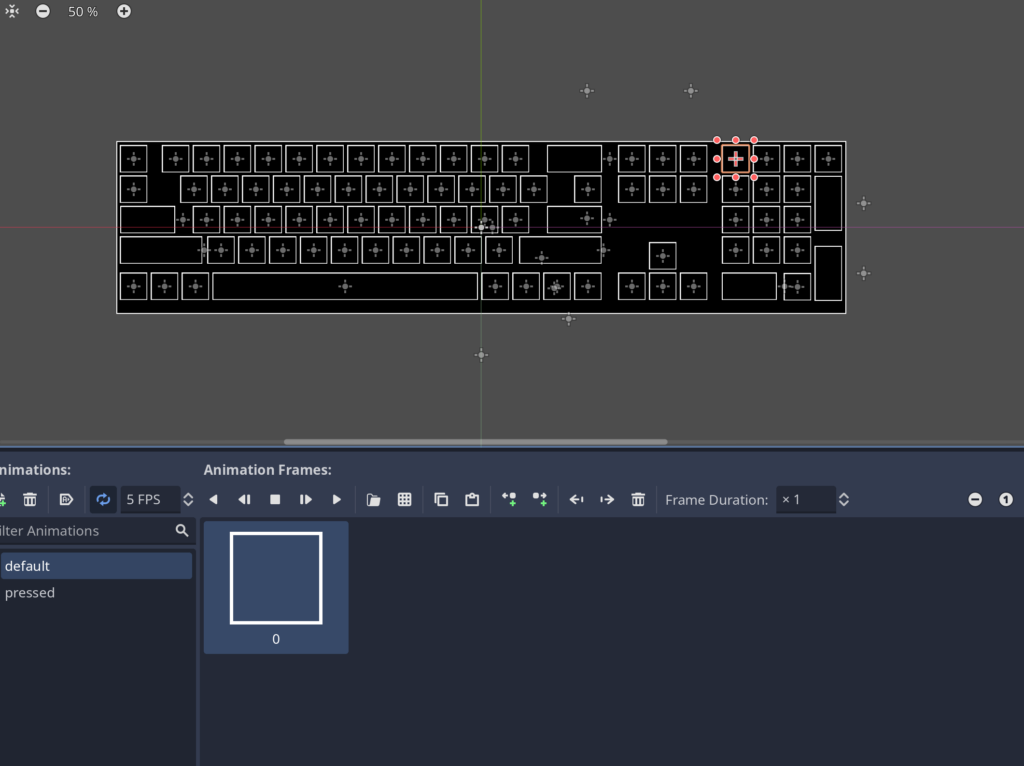
One thing I had to do was map the Godot enums JoyButton and JoyAxis to nodes in the Example Controller to tell it which button to display as pressed. I had to do this manually for all 88 keys in the keyboard. Here’s just a small section of the massive dictionary I made:
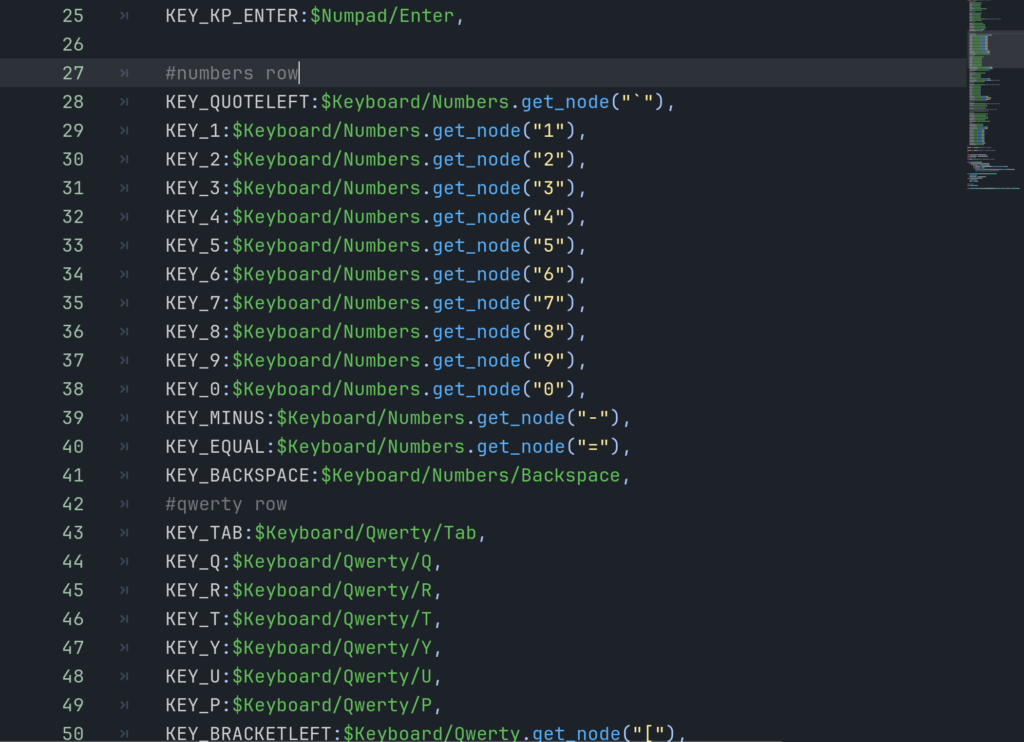
I kept it collapsed most of the time if you can believe it.
It was a lot of work, but I now feel really good about the Example Controller. I feel like I will be able to easily make it work in future games.
Pingback: Squarb Stack VS - Mowin People Games